From time to time every System Administrator will have to pull some wire to get a network jack in that one location. And then sometimes, you have to pull a lot of wire. We were in a pinch the other day and had to get some Cat 6 wire pulled for a new office addition. I thought I would take a few notes and shares some tips with you to make it easier for the next job when you will be Pulling Cat 5 / Cat 6 Wiring.
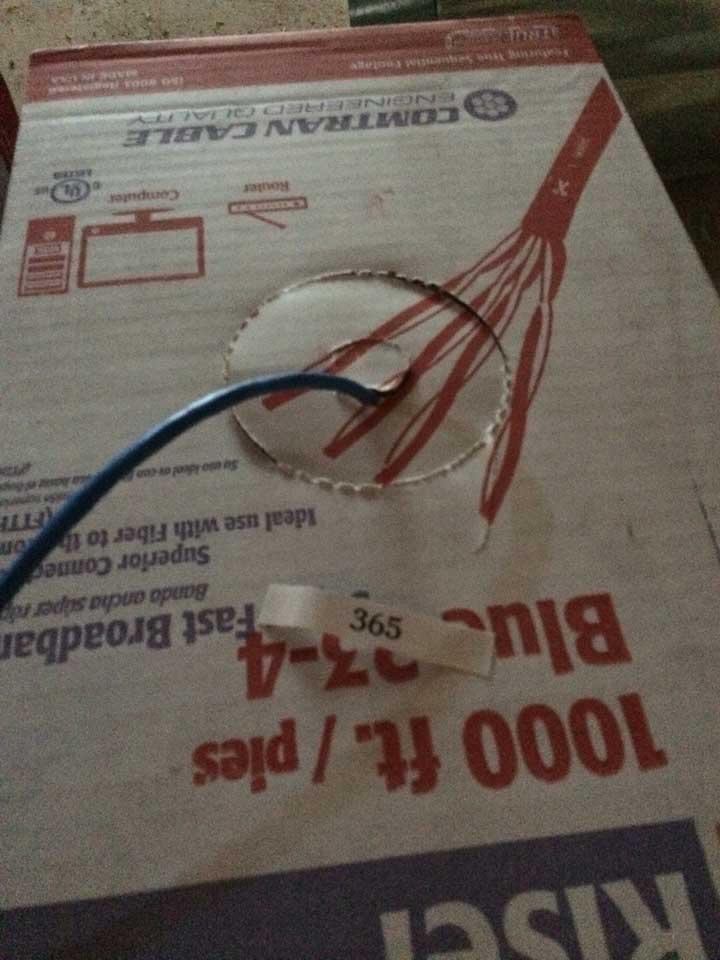
Network Wiring Tip #1 – Don’t Kink Your Wire
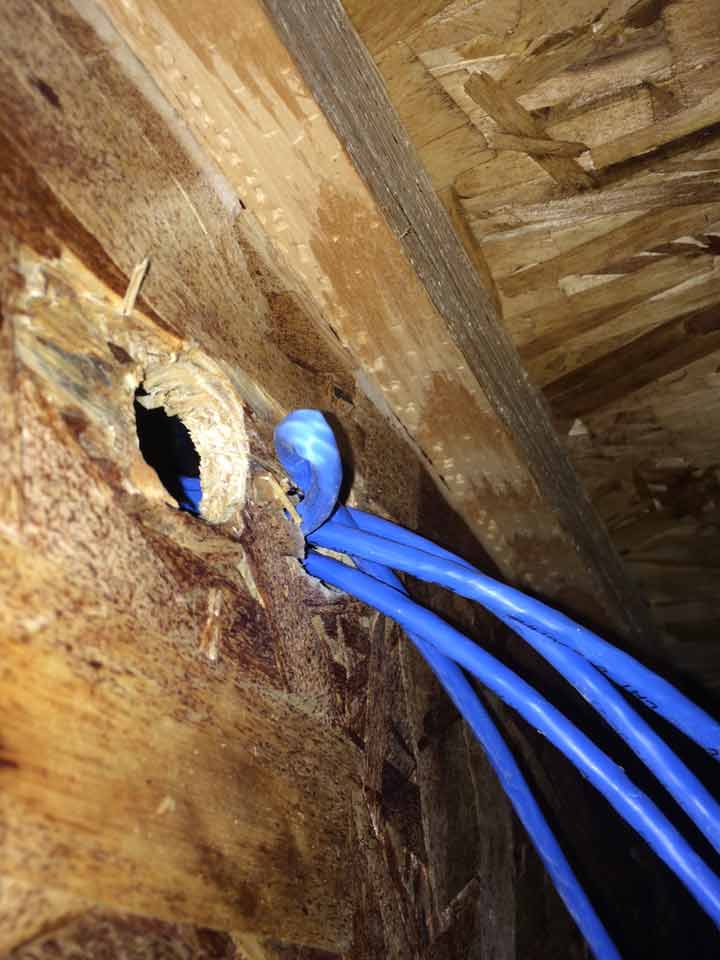
Be Careful!! Loops in Your Wires Become Bad Kinks if You Are Not Careful. A Kink Can Damage Your Wires Beyond Usability
Cat 5 / Cat 6 wire typically comes in boxes of 1000 feet. The wire is looped around and around itself inside the box and comes out with some natural looping particularly at the beginning of a box where the loops are smaller. Those natural loops become kinks when you pull them up into a hole. If you pull too hard on a loop, it becomes a damaged wire that won’t conduct a proper signal. Working with a partner can help you minimize the kinks in your wire as both ends carefully feed and pull your wiring through holes and tough spots.
Network Wiring Tip #2 – Pull as Many Wires as Possible Simultaneously

To Save Time, Pull Multiple Wires at a Time
To make a big wiring job go quicker, you can pull from multiple boxes at the same time. If you have multiple drops going into the same gang box, or even the same room, you can make the task go quicker by purchasing multiple boxes of Cat 5 / Cat 6 wire and pull them simultaneously making the job go multiple times quicker. If you know that you are going to need to use multiple boxes of wire anyway, why not make things go quicker by pulling 2, 4 or even 8 wires at the same time.
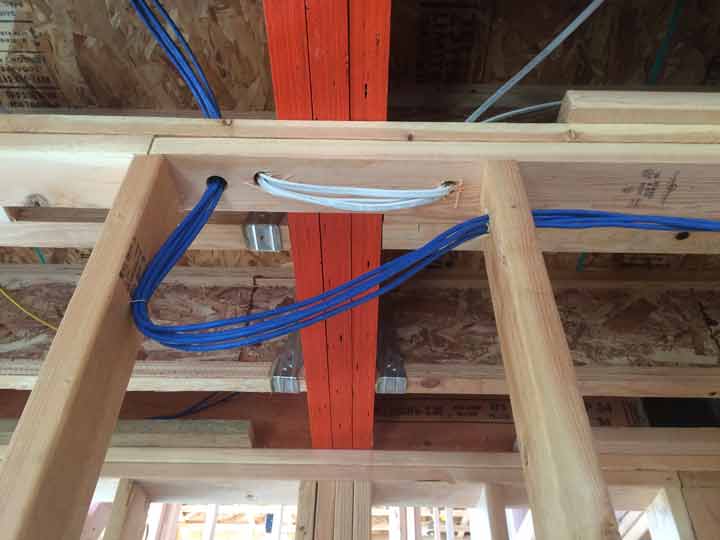
Network Wiring Tip #3 – Drill Your Holes in a Straight Line
For a Clean Look, Drill Your Holes High and in Rows. Also drilling them straight from one joist to the next will make pulling your wire much easier.
It can take quite a while to pull your wire through multiple holes. It takes even longer and more effort if the holes in the joists are not in a straight line. Not only will you save time because the wire will pull through easier, you will save a lot of wire. I like to plan out where I will pull my wire runs and make lots of parallel holes in a row. This makes the wiring job look more professional, easier to run and take much less wire.
Be Sure to Come Back After the Electrician. They Often Don’t Realize the Interference Problems that Their Mistakes Will Cause You
Network Wiring Tip #4 – Check Your Wire Runs After the Electrician Has Finished
On one recent job, I ran most of my wiring before the electrician had done his job. I found again and again places where his wire (110V 15 amps / 20 amps) ran parallel to my Cat 5 / Cat 6 wire as shown in the photo to the right. Most electricians are not aware of the effect that their current will have on your wires’ ability to carry a signal.
Keep Your Wire Away From Line Power. I was able to improve a bad situation with a couple of staples to separate my Cat 6 cable from the line power.
Be certain to go back to the job site a day or so before the inspection when the electrician has finished his tasks just to be sure that you don’t have any compromising situations for your wiring.
This can save you lots of time later on troubleshooting and wondering what is wrong behind the sheet rock. Diagnosing signal interference is rough. If you don’t separate your wires, you may have employees tell you that their network doesn’t work when Mary runs the microwave, or their network doesn’t work on cold days (when Mary is using more current for her space heater).
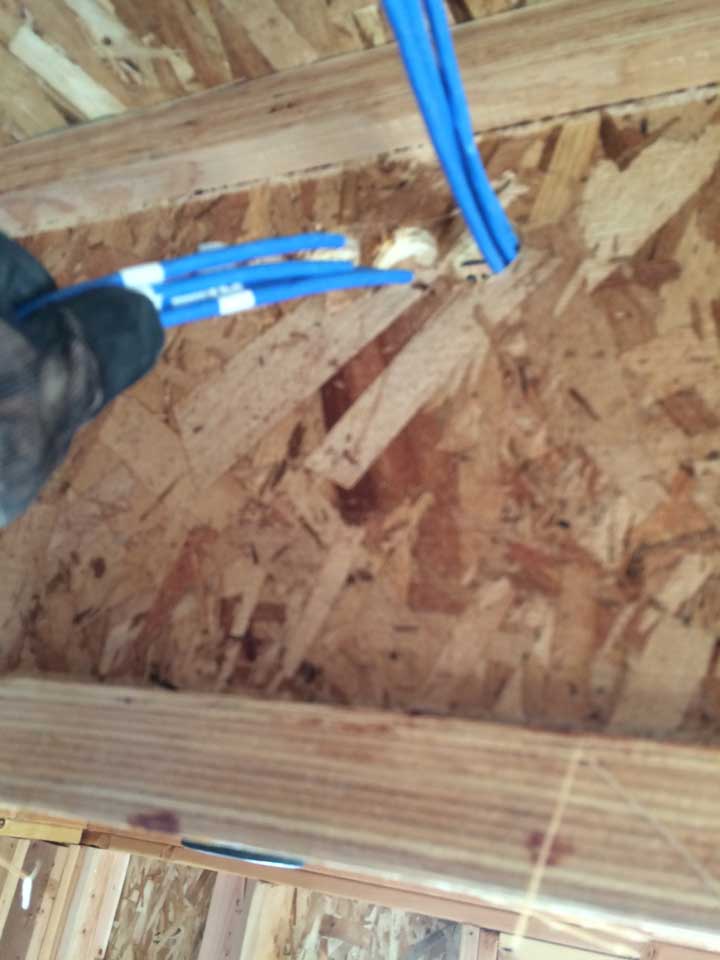
Network Wiring Tip #5 – Label Your Wires While You Pull Them
Label Your Wires as You Go
I know that wire toners are cool and all, but if you have over 100 drops to tone out and label after the wire pull, you will have a huge task.
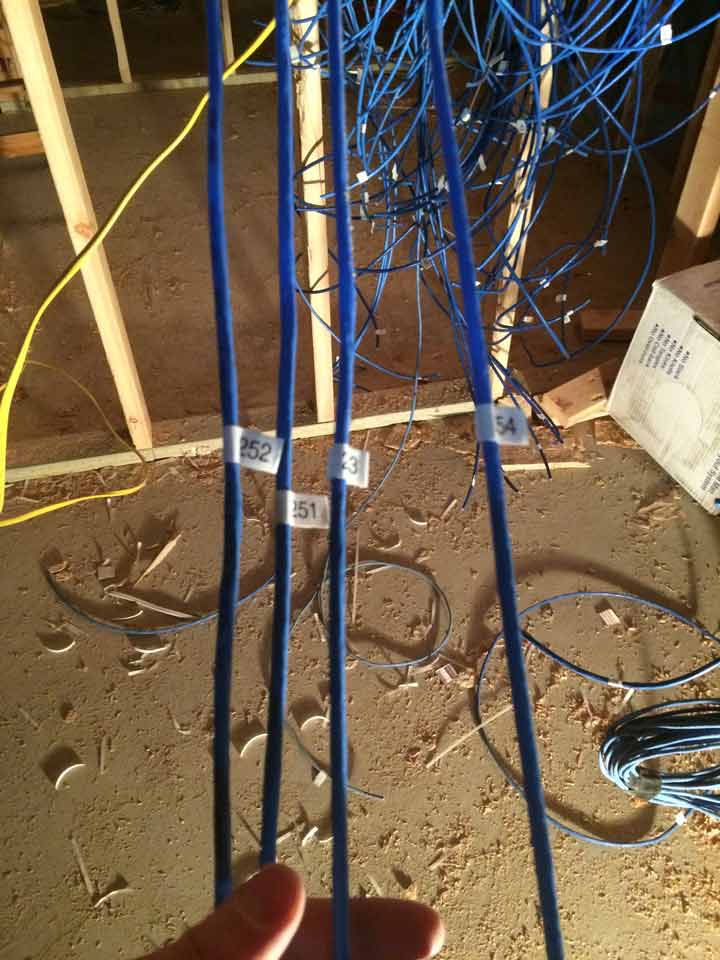
Print 2 Labels, Put on One the End Before You Pull the Wires and Put the Second Label on the Other End Before You Cut the End.
You can save tons of time by using this simple tip. Print out 2 labels for your wire. Put one label on the end and put the second label on the box you are pulling from. After you have completed pulling the wire through to its destination, put the label on the back end of the wire before you cut it.
You can use the toner instead, but you’ll be pulling your hair out if you have too many drops to identify.
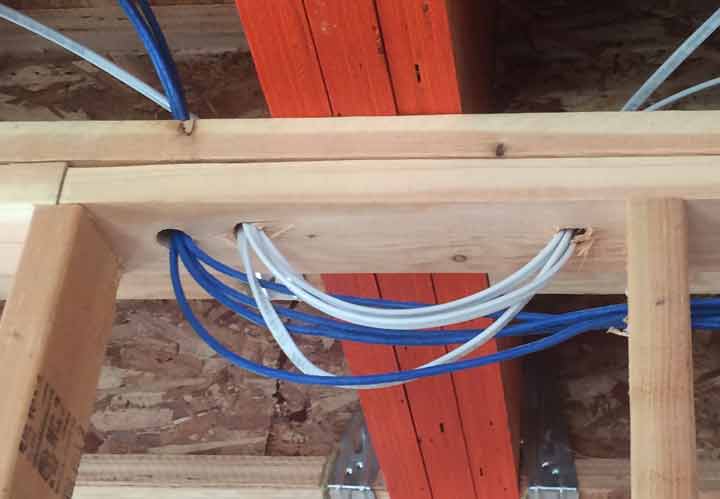
Network Wiring Tip #6 – Use Staples and Electrical Tape to Get That Professional Look

Using Staples and Tape Give Your Wiring Job a Very Nice Professional Look
After I finish pulling my wire, I go through the project one more time just to tie down loose ends and make it all look professional. Nothing can make your wire straighter than a few staples and a bit of electrical tape.
Not only will the staples and tape hold your wire straighter, but they will protect your wires from the drywall team that will follow you. Using a staple right before the gang box is also a good idea as it can help to prevent your wires from sliding back into the box during the drywall, mud and taping.
Network Wiring Tip #7 – Protect Your Wires From Drywall Screws
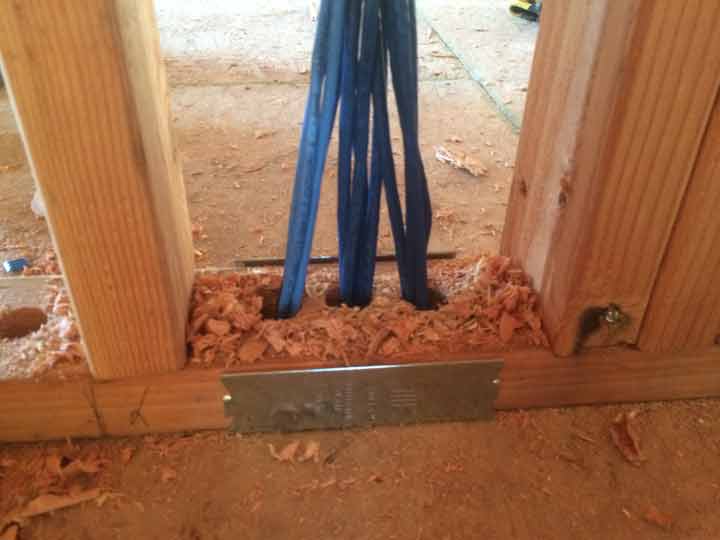
Remember Protective Plates to Protect Your Network Wires From Sheetrock Screws
You’ve done a lot of work up to this point. It would be a shame to have a drywall screw penetrate too deeply and damage your wires. Typically with 1/2 inch sheet rock, they will be using 1 1/4 inch screws, but who knows maybe they have an extra box of longer screws to use up. Protect your wire with metal plates where your wires pass through studs.
Network Wiring Tip #8 – Pay Attention!

Remember the Sheet Rock Team will follow you. Be Careful Not to Miss a Simple Mistake Like Missing a Joist.
While I am normally on top of things, from time to time, I will look up and realize that I have made a mistake and missed a joist or something is running outside of the and will be a problem during the drywall task. Be sure to pay attention so you don’t waste time having to go back to fix a mistake.
Network Wiring Tip #9 – Check Local Building Codes and Standards
Typically, you don’t need to pass inspection with the city on your network wiring. But in some places you may have to. You will also want to verify the standards required for the type of wire that you are using. Check for proper distance requirements from 110V / 15Amps / 20Amps. How may 90 degree turns you can make and other things that may affect your wiring performance. You will be glad that you did.
Latest posts by Jeff Staten (see all)
- Configure Your HP Procurve Switch with SNTP - May 5, 2015
- Configuring HP Procurve 2920 Switches - May 1, 2015
- Troubleshooting Sendmail - November 28, 2014