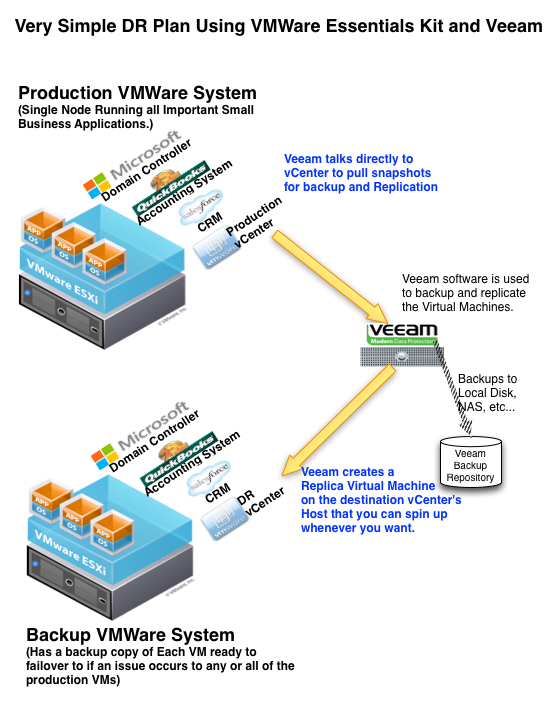
Let me begin by saying that most people running the vCenter appliance are typically using Essentials versions of VMware. This example case is using VMware Essentials Plus. In smaller VMware installations, it is simpler to install a new version of vCenter appliance than to upgrade. Additionally, this eliminates any risk of the vCenter upgrade not going well and you being without a working vCenter. Here are the steps that I took when I ran the steps of Upgrading to vCenter Appliance 5.5
Step 1 – Install a new vCenter Appliance 5.5 Virtual Machine
I explained the details on doing this in a previous article: Install VMware vCenter Server Appliance. Follow the instructions in this article. Although the instructions were built using vCenter appliance 5.1, the instructions are virtually the same. What is better though is that in version 5.1 virtual appliance, everything goes quicker and faster.
Step 2 – Create a New VMware Datacenter and Cluster
Using your browser, navigate to the ipaddress or resolved hostname to your new vCenter 5.5 appliance you setup in step 1 above.
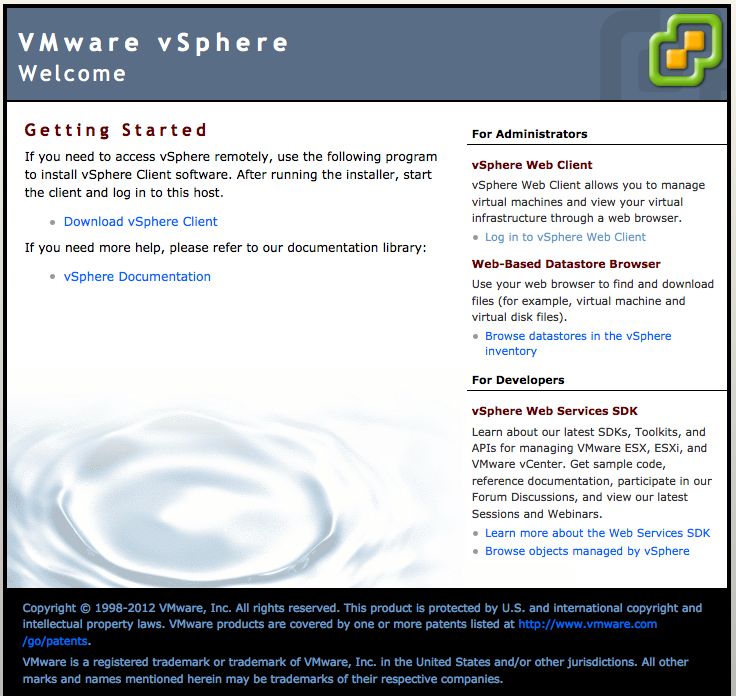
Browse to the vCenter Appliance 5.5
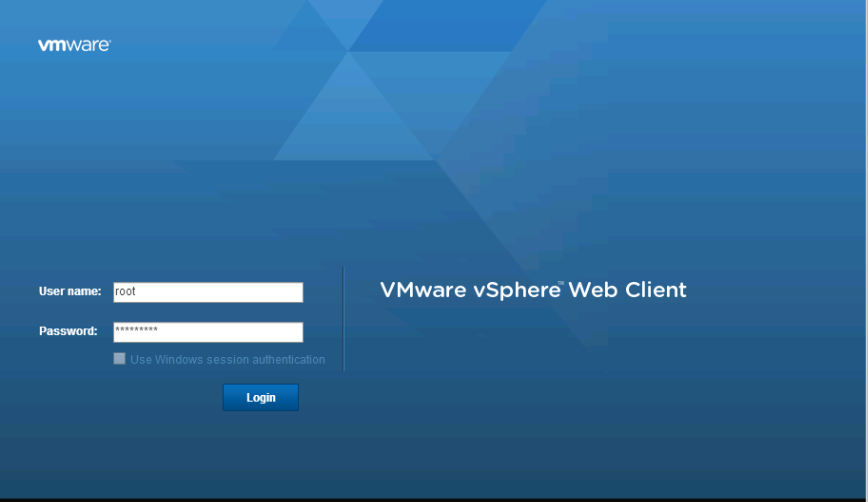
vSphere Web Client Login
Click the link in the top right named: “Log in to vSphere Web Client”. This will, of course, redirect you to the vSphere Web Client Login.
If you can’t get to the vCenter Appliance page, the link should be: https://<vCenter-IPAddress>:9443/vsphere-client/.
Create VMware vCenter Datacenter
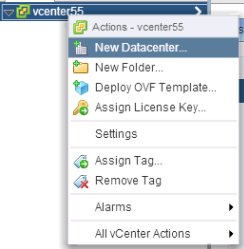
Create vSphere Datacenter
Find your vcenter server in the web client and right click on it. This will give you the option to create a “New Datacenter”. Choose this option and then name it.
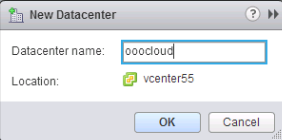
Name Your New vSphere Datacenter
Click the OK button to finish the creation of your datacenter. Next, we need to create our vSphere cluster.
Create VMware vSphere Cluster
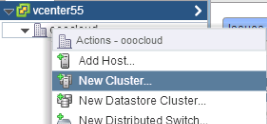
Create vCenter Cluster inside your Datacenter
Next, right click on the newly created datacenter and choose the “New Cluster” option.
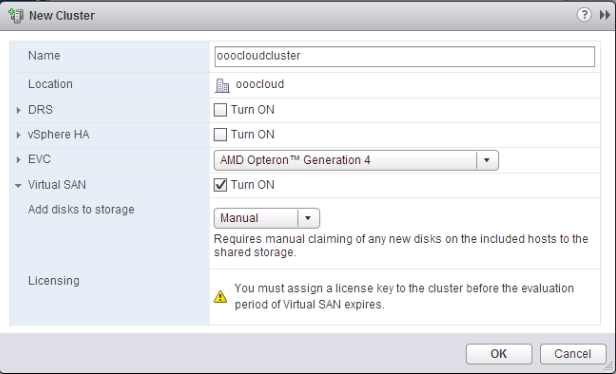
Fill out the vSphere Cluster Creation Option
Fill out the the creation options.
This includes the name of the cluster, whether you wish to configure vSphere Dynamic Resource Scheduler (DRS) and its options, vSphere High Availability (HA) and its options, Enhanced vMotion Capability (EVC) and its options. If you are confused what to set, you can always login to your old vCenter and see how these options were configured in it.
With version vSphere 5.5, you can now configure the new Virtual SAN option which allows you to use the local-only datastores on each machine as a shared space for your virtual storage needs.
Add Hosts to Your vSphere Cluster

Add Hosts to the vSphere Cluster
Typically, at this point, I will shutdown the old vCenter so the hosts are not being managed by both vCenters simultaneously.
With your vSphere cluster configured, our next step is to add the hosts into the vSphere cluster. Add them one by one, by right-clicking on your cluster and choosing the “Add Host” option.
You will then type in the resolved hostname or the IP address of the host and it will add your hosts in.
The license for each of the hosts and for the vCenter should be found automatically. But be certain to verify that they did. You are given a grace period to get them in place. If you haven’t acted during that grace period, you’ll be in a world of hurt.
If everything went right, you can leave your old vCenter shutdown or delete it entirely.
You are now done upgrading your VMware system to the VMware vCenter Appliance 5.5. You are now ready to go through the steps to update your vSphere hosts which I hope to explain in another article sometime.
Latest posts by Jeff Staten (see all)
- Configure Your HP Procurve Switch with SNTP - May 5, 2015
- Configuring HP Procurve 2920 Switches - May 1, 2015
- Troubleshooting Sendmail - November 28, 2014