Once you have a system that becomes important to your organization, you will want to begin to monitor it to ensure that it is up and running and to be able to measure and create uptime reports for those services for yourself and your supervisors. The easiest and most cost effective way to do this is by monitoring your systems with Nagios. All of this can be done easily with a simple Nagios system.
How to Install a Nagios System
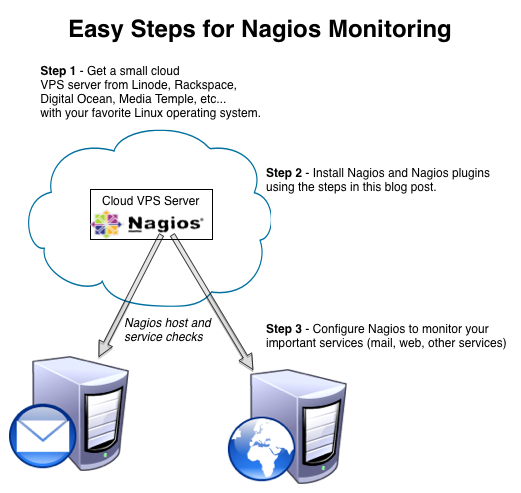
Step 1 – Get a small cloud VPS server from Linode, Rackspace, Digital Ocean, Media Temple, etc… with your favorite Linux operating system.
Step 2 – Install Nagios and Nagios plugins using the steps in this blog post below.
Step 3 – Configure Nagios to monitor your important services (mail, web, other services).
Nagios Setup Step by Step
It’s All About Geography – Get a VPS
Not only is it important for your important systems to be up, but they need to be available to the important locations. For example, if you want to be sure that your website is up for all of your customers and the rest of the internet in general. So, you will want to monitor your website from a location exterior to where it is being hosted. If it is being hosted from your office, create your monitoring system elsewhere. If you have your website hosted at a hosting company, you need to install your monitoring system at a different hosting provider. The easiest way is to choose a VPS somewhere and install on it. For this example, I did this on a small VPS from Digital Ocean. When I created my Nagios VPS, I chose CentOS 6.4.
Download Nagios
I typically create a directory somewhere, download the files, then compile and download from there. For this task, I created the /installs/nagios directory and I download the latest Nagios software which at the time of this writing is 3.5.1 and the plugins are 1.4.16. I will download Nagios from: http://sourceforge.net/projects/nagios/files/nagios-3.x/nagios-3.5.1/nagios-3.5.1.tar.gz and the Nagios plugins from here: http://prdownloads.sourceforge.net/sourceforge/nagiosplug/nagios-plugins-1.4.16.tar.gz
mkdir -p /installs/nagios
cd /installs/nagios
wget http://sourceforge.net/projects/nagios/files/nagios-3.x/nagios-3.5.1/nagios-3.5.1.tar.gz
wget http://prdownloads.sourceforge.net/sourceforge/nagiosplug/nagios-plugins-1.4.16.tar.gz
Note: Download Nagios 4 instead! Nagios 4 is now out and you can download the latest nagios 4.0.1 using this link:
http://prdownloads.sourceforge.net/sourceforge/nagios/nagios-4.0.1.tar.gz
Note: Download Naigos Plugins 1.5 instead! Nagios Plugins 1.5 is now out and you can download the latest from this link:
https://www.nagios-plugins.org/download/nagios-plugins-1.5.tar.gz
Install Prerequisites
Before I can compile and install Nagios, I need to install the prerequisites that are used during the compilation.
yum install php
yum install https gcc glib glibc-common gd gd-devel openssl-devel net-snmp net-snmp-utils make
Create Nagios User
We need a nagios user to be the owner of the Nagios code:
useradd nagios
passwd nagios
Changing password for user nagios.
New password: <type in a password here>
Retype new password: <type in a password here> passwd: all authentication tokens updated successfully.
Compile and Install Nagios
With all of the prerequisites done, we should now be able to unzip, compile and install nagios:
gunzip nagios-3.5.1.tar.gz
tar -xvf nagios-3.5.1.tar
cd nagios
./configure
make all
make install
make install-init
make install-config
make install-commandmode
make install-webconf
Setup the Admin Contact Information
Because we want to get email alerts when something is down, we need to put our email address in the contacts file. We do this by editing the /usr/local/nagios/etc/objects/contacts.cfg file with our favorite editor:
define contact{
contact_name nagiosadmin ; Short name of user
use generic-contact ; Inherit default values from generic-contact template (defined above)
alias Nagios Admin ; Full name of user
email youremail@domain.com ; <<***** CHANGE THIS TO YOUR EMAIL ADDRESS ******
}
Setup a Password to Protect Nagios
We want to protect our Nagios system so that only we can get in with a web browser. we do this by creating a htpasswd file that will setup a userid and password for us to type in our browser when accessing Nagios.
htpasswd -c /usr/local/nagios/etc/htpasswd.users nagiosadmin
New password:
Re-type new password:
Updating password for user nagiosadmin
restart our apache httpd daemon:
service httpd restart
Compile and Install Nagios Plugins
We are nearly done installing Nagios. But Nagios needs plugins to check services and hosts. So it is time to compile and install the plugins:
cd /installs/nagios
gunzip nagios-plugins-1.4.16.tar.gz
tar -xvf nagios-plugins-1.4.16.tar./configure –with-nagios-user=nagios –with-nagios-group=nagios
make
make install
Setup Nagios in Services Manager
For Nagios to start at boot time and to make it easier to stop and start, we need to add Nagios to the services manager. We will use chkconfig to add nagios and enable it in the services manager, then verify our nagios.cfg file is correct, then startup Nagios:
chkconfig nagios on
/usr/local/nagios/bin/nagios -v /usr/local/nagios/etc/nagios.cfg
service nagios start
Login to Nagios – Monitoring Your Systems with Nagios
We should now be able to login to the Nagios system we just installed and begin monitoring our Systems with Nagios! We browse to it using the ipaddress of our Nagios server. In my case, this is the address of my VPS: http://<ipaddress>/nagios. When we login, we will need to use the username and password we set above.
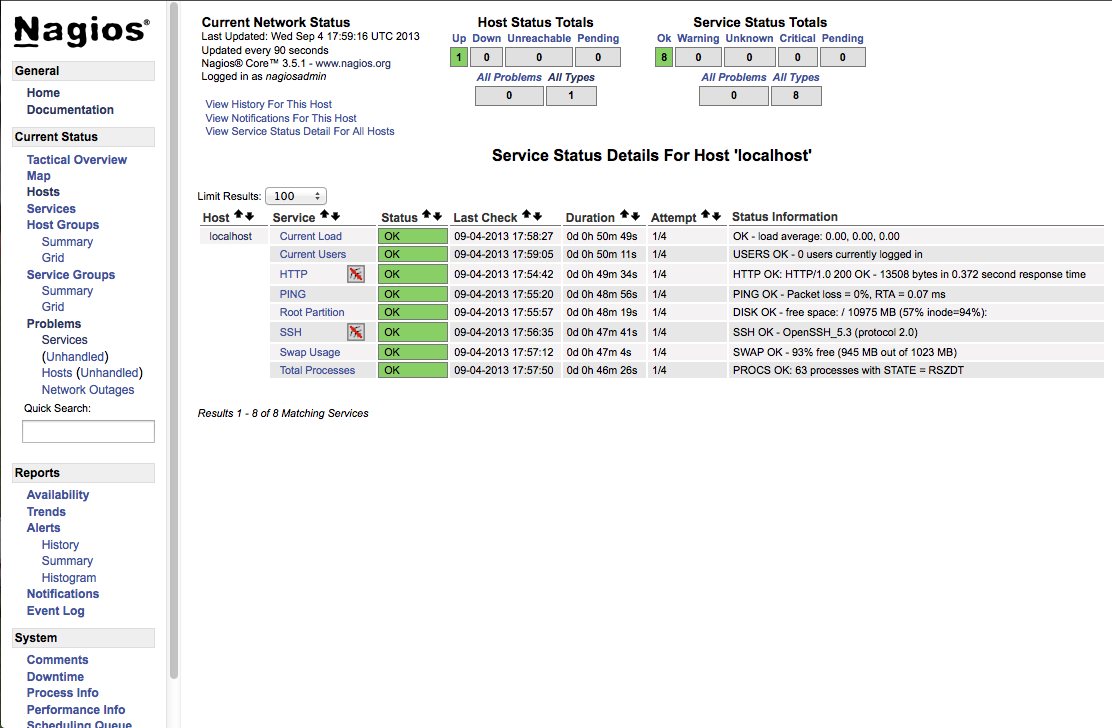
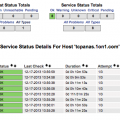
Nagios Management Console Allows you to Create Uptime Reports and Manage your Services and Hosts Monitoring Tasks
My next article will be on how to configure and define Nagios Hosts ans Services
Next Step – Define Nagios Hosts and Services.
Click Here to go to the Define Nagios Hosts and Services Article.
Latest posts by Jeff Staten (see all)
- Configure Your HP Procurve Switch with SNTP - May 5, 2015
- Configuring HP Procurve 2920 Switches - May 1, 2015
- Troubleshooting Sendmail - November 28, 2014
this is perfect! exactly what i needed!