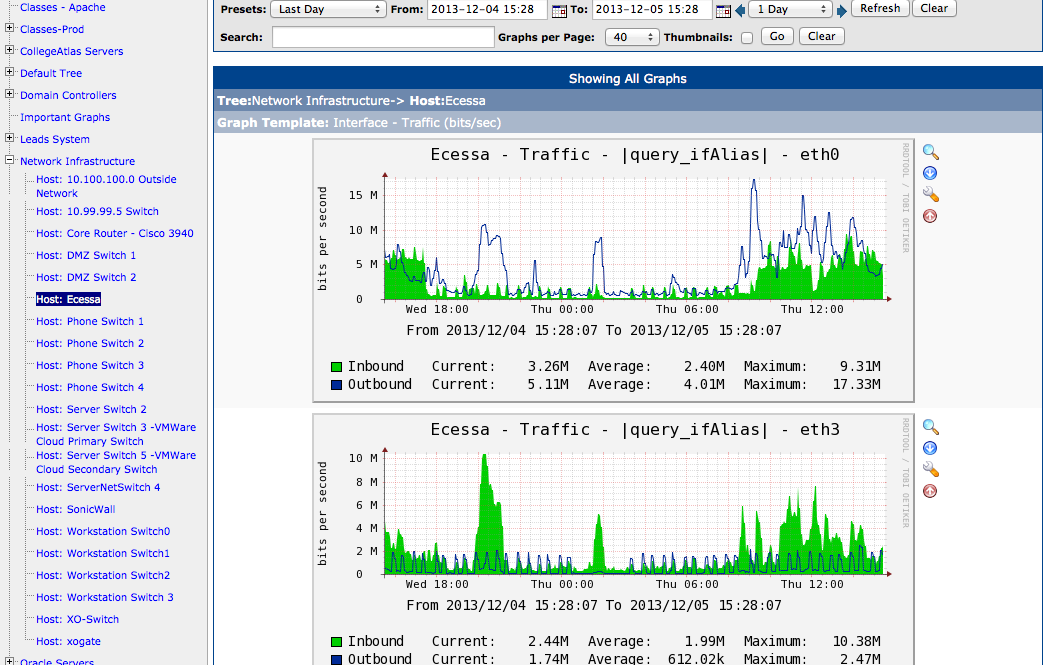
Cacti is a great tool for graphing almost anything that talks SNMP. You can use it to graph server performance, file system usage, router interfaces, bandwidth usage,
Install Cacti On CentOS 6
temperature, etc… Because so many have created their own templates for it, there is a pretty good base for nearly any network or server system. So, in this article, we will Install Cacti On CentOS 6 with Step by Step directions.
Here is How You Can Easily Install Cacti on a CentOS System…
There are several steps that you need to take to get cacti running on your system. I break it out into several steps because you may have some of these items already installed on your system.
Step 1. Be Sure that Iptables Allows Access to Your Httpd Port
Before I forget, I need to remind you that you will want to be able to access cacti after it is installed, so, be sure to modify your iptables firewall to allow access to your Apache httpd port.
Step 2. Install and Configure MySQL
Installing MySQL is very simple on CentOS. We begin by installing mysql and mysql-server using yum:
| # yum install mysql mysql-server |
Next, we need to configure it with some really simple configuration to get started. I always set my table names to case insensitive before creating my objects and I also want to be sure that I have plenty of connections available for apache to connect to my database. So, I edit /etc/my.cnf put these lines under mysqld region:
| lower_case_table_names=1 max_connections=100 |
Next, let’s configure MySQL to start at boot time and restart it:
| # chkconfig mysqld on Restart MySQLd # service mysqld restart |
Now, give MySQL a root password by running the mysqladmin command and telling it the password you wish to use for mysql:
| # mysqladmin -u root password <put MySQL root password here> |
Step 3 – Create a Database for Cacti to Use
Now that cacti is installed, let’s create our database as well as a user for cacti to connect with:
| mysql -uroot -pEnter password:mysql> create database cacti; Query OK, 1 row affected (0.00 sec)mysql> grant all on cacti.* to cacti@localhost identified by ‘cacti’; Query OK, 0 rows affected (0.00 sec) |
The above steps created the cacti database and then created a user named cacti with a password of cacti that can connect to the cacti database itself.
Step 4 – Install Apache httpd on CentOS
We have to install an http daemon to serve cacti. In this example we will use the Apache httpd. This is very simple:
| # yum install httpd httpd-devel |
Set Apache to startup at boot time:
| # /sbin/chkconfig httpd on |
Setup the http configuration file for cacti:
| # cat > /etc/httpd/conf.d/cacti.conf <<EOF Alias /cacti /usr/share/cactiOrder Deny,Allow Deny from all Allow from 10. # <—put your IP address space here and remove this comment!EOF |
Startup Apache:
| # /sbin/service httpd restart |
Step 5 – Install Php on CentOS
Cacti was written in php and therefore, we need to install php. Cacti also uses snmp to communicate to most of the devices it will monitor, and rrdtool to create the graphs so we need to install some SNMP and rrdtool packages:
| # yum install php php-mysql php-pear php-common php-gd php-devel php-mbstring php-cli php-snmp net-snmp-utils net-snmp-libs php-pear-Net-SMTP rrdtool |
Now setup snmpd to start at boot:
| # /sbin/chkconfig snmpd on |
and startup snmpd:
| # /sbin/service snmpd start |
Step 6 – Install Cacti on CentOS
Finally! all of the prerequisites have been installed, now let’s install cacti itself.
| # yum install cacti |
Next, we need to populate the cacti database that we created in step 2 above with the tables and default data for cacti to operate. To do this, we need to find the cacti.sql file that was put on our machine when we installed cacti. We do this using the find command:
| # find / -name cacti.sql /usr/share/doc/cacti-0.8.8b/cacti.sql |
Now, we use that cacti.sql file as an input file to create our cacti database schema:
| # mysql -ucacti -p cacti < /usr/share/doc/cacti-0.8.8b/cacti.sql Enter password: |
Now, edit the /etc/cacti/db.php file. Set the userid and password, and other connection stuff properly in this file. Find the lines below and modify the values to be correct to connect to your database:
| /* make sure these values reflect your actual database/host/user/password */ $database_type = “mysql”; $database_default = “PUT-YOUR-CACTI-DATABASE-NAME-HERE”; $database_hostname = “localhost”; $database_username = “PUT-YOUR-CACTI-MYSQL-USERNAME-HERE”; $database_password = “PUT-YOUR-CACTI-MYSQL-PASSWORD-HERE”; $database_port = “3306”; $database_ssl = false; |
OK. Now we need to setup the crontab to run the poller.php script. The poller.php script goes and gets all of the data for our cacti to display in its pretty graphs. When we installed cacti, it automatically put the /etc/cron.d/cacti file in place for us, we just need to edit it and remove the “#” from the beginning of the line. Edit the /etc/cron.d/cacti file from:
| #*/5 * * * * cacti /usr/bin/php /usr/share/cacti/poller.php > /dev/null 2>&1 |
to
| */5 * * * * cacti /usr/bin/php /usr/share/cacti/poller.php > /dev/null 2>&1 |
That almost completes the real work. If we did all of the above right, then the rest is way simple!
Step 7 – Complete the Cacti Installation With Your Browser
Now, open up your favorite browser and go to the installer on the server that you just installed:
Browse to: http://Your-Server-IP-Address/cacti/install/
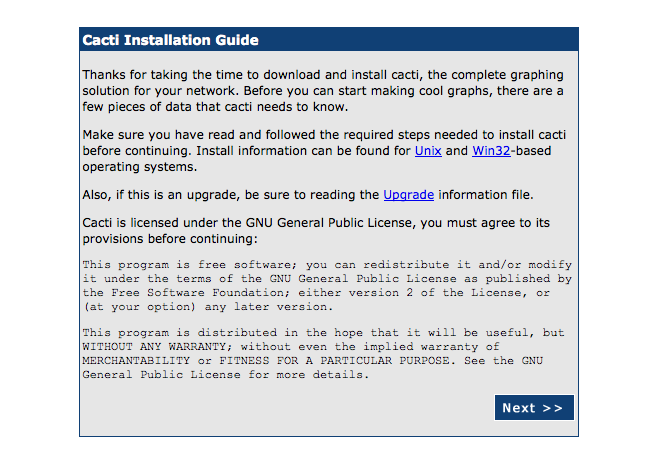
Cacti Installation Page 1
You should be sent to a page just like this:
Click the “Next” button.
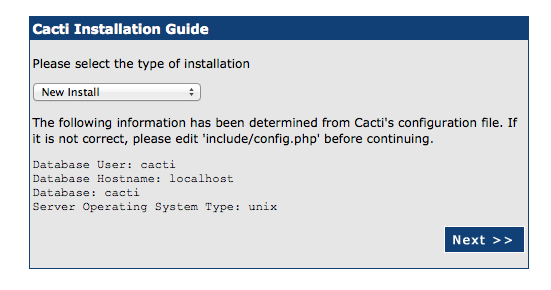
Cacti Installation Page 2
You should arrive at this page next.
Since we are installing a new instance of Cacti, choose the “New Install” option and then hit the “Next Button”.
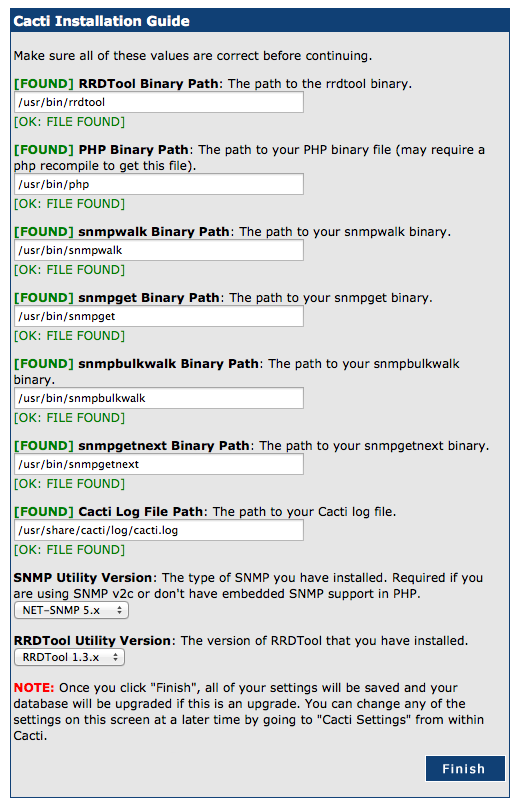
Cacti Verifies its Dependencies are Present
Cacti will now go and look for all of the packages that it depends on to make sure they are present. If we did our homework above, then everything should be “green” and “found”.
Cacti will then have us login. Use the userid/password of admin/admin.
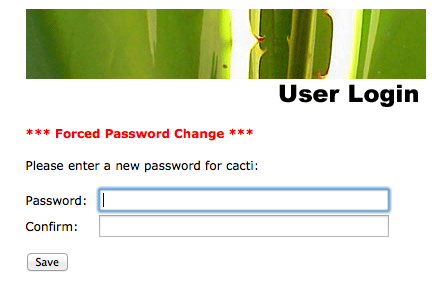
After Logging in to Cacti the First Time, You are Told to Change The Admin Password
As soon as you login, it will make you change your admin password:
Set your password and hit the save button.
With our password changed, the cacti install should be complete and ready to add devices:
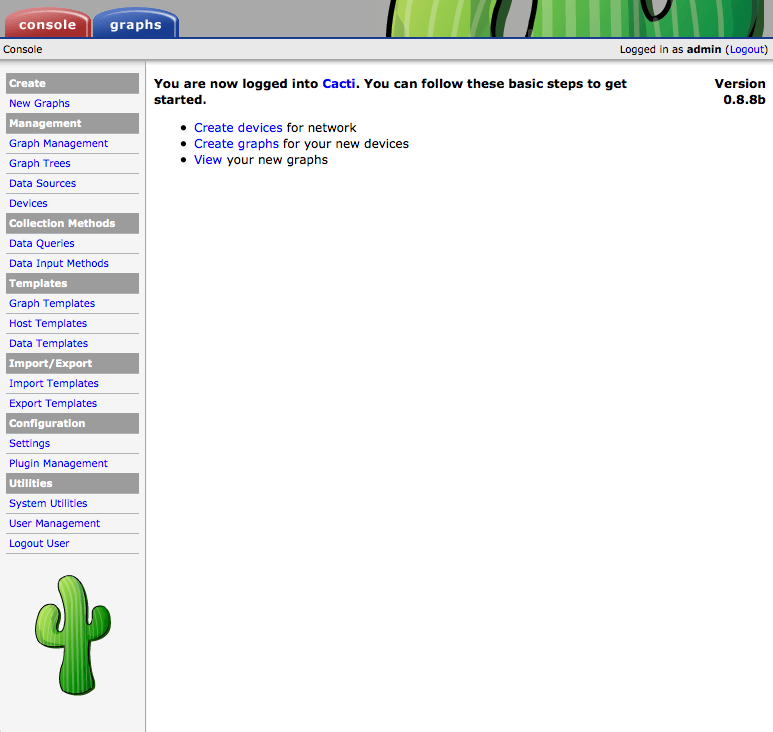
Logged in to Cacti Finally!
These steps installed Cacti Version 0.8.8b. You are now read to add devices and get monitoring! Watch for more articles on adding different types of devices into cacti here at http://www.uptimemadeeasy.com.
Latest posts by Jeff Staten (see all)
- Configure Your HP Procurve Switch with SNTP - May 5, 2015
- Configuring HP Procurve 2920 Switches - May 1, 2015
- Troubleshooting Sendmail - November 28, 2014