As more and more systems move toward SSD disk, we are seeing much better swap performance as the disk IO is so much more performant. Additionally, as we move more and more of our systems to VPS cloud service providers whose charging metric is based on the memory of your VPS system, being a bit more efficient in our memory allocation will help us save some real money. Being able to add really quick SSD-based swap into a low memory cloud VPS can be a useful tool.
Add a Swap File to Your CentOS Linux System
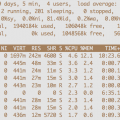
Top Showing No Swap Being Available
Using Top or Free (see prior article on memory usage) on a typical VPS will show that no swap is configured on your system. That, of course, is exactly what we are going to resolve in this article.
Step 1 – Create the Swap File with DD
Most of the time, working with a VPS, we don’t have extra raw disk partitions to use for swap assignments, so I am creating my swap on an actual file stored in the root (/) filesystem. If you happen to have a spare raw disk partition for your swap, you can skip these file creation steps.
Example: Create a 1 GB blank file (named /swapfile) that we can later use for our swapfile
# dd if=/dev/zero of=/swapfile count=2097152
Give the newly created swapfile the proper permissions:
# chown root:root /swapfile
# chmod 600 /swapfile
abc
Step 2 – Convert the Swap File with mkswap
The file that we setup for swap now needs to be converted to an actual swapfile using the mkswap command. Note that if you are using a raw disk partition for your swap, you would change the destination from your file’s /path/filename to the disk partition’s path.
# mkswap /swapfile
mkswap: /swapfile: warning: don't erase bootbits sectors
 on whole disk. Use -f to force.
Setting up swapspace version 1, size = 1048572 KiB
no label, UUID=a6216882-2a54-43eb-9054-f6680b8bb91a
Step 3 – Enable Swapping on Our New Swapfile
Now that our swapfile is all setup, we can now turn on its actual usage by the system for paging and swapping using the swapon command.
# swapon -v /swapfile
swapon on /swapfile
swapon: /swapfile: found swap signature: version 1, page-size 4, same byte order
swapon: /swapfile: pagesize=4096, swapsize=1073741824, devsize=1073741824
Verify our swapfile is all setup with “swapon -s”. Note that the priority is set to -1 which means that it has no priority setting.
# swapon -s
 Filename     Type       Size    Used Priority
 /swapfile    file    1048568      0     -1
Let’s say that we may plan to add future swap files to our swap and we want this particular swap file to have a priority of 1. So we will turn off our swap file and then turn it on again but this time with a priority of 1.
Example: We now turn off our swapfile using swapoff:
# swapoff -v /swapfile
 swapoff on /swapfile
Now, we turn swap back on with a priority of 1
Example: Turn on swap again, this time with a priority of 1
# swapon -v -p 1 /swapfile
 swapon on /swapfile
 swapon: /swapfile: found swap signature: version 1, page-size 4, same byte order
 swapon: /swapfile: pagesize=4096, swapsize=1073741824, devsize=1073741824
Now check the swapfile again and notice that the priority is now set to 1.
# swapon -s
 Filename Type Size Used Priority
 /swapfile file 1048568 0 1
Step 4 – Add a Line to /etc/fstab for our Swapfile
Although our swap is up and running just fine, if we were to reboot the sAdd an entry to the /etc/fstab file so your swap gets setup at the next boot the system, we will need to run the swapon command each time to get the swap working again. Instead, we are going to add the following line to the bottom of our /etc/fstab file so that our swap will be setup properly each time we boot from this point on.
/swapfile swap swap defaults 0 0

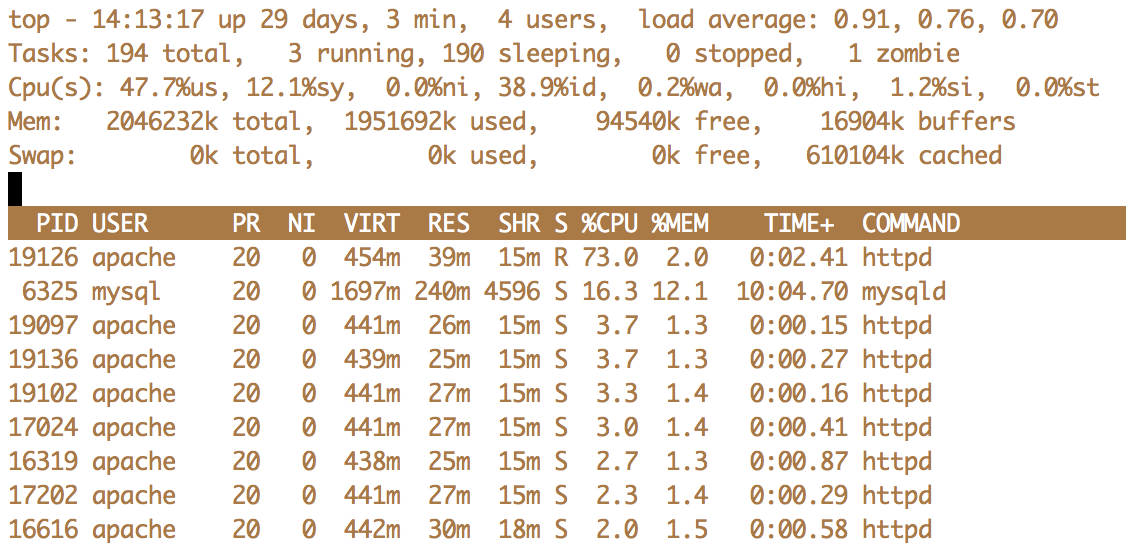
Top Showing Swap Being Available
All Done!
At this point, our swap is added and all ready to use. You can use free or top to see the swap segment added to the output.
Should you with to eliminate the swapfile at some future time, use the instructions above for swapoff, remove the line from /etc/fstab, and then delete the actual file.
Other Resources
I hope that was clear enough in my instructions, but if you need further resources to make things work for your environment, maybe these links will help:
Red Hat Instructions – directions using LVM volumes
Latest posts by Jeff Staten (see all)
- Configure Your HP Procurve Switch with SNTP - May 5, 2015
- Configuring HP Procurve 2920 Switches - May 1, 2015
- Troubleshooting Sendmail - November 28, 2014